


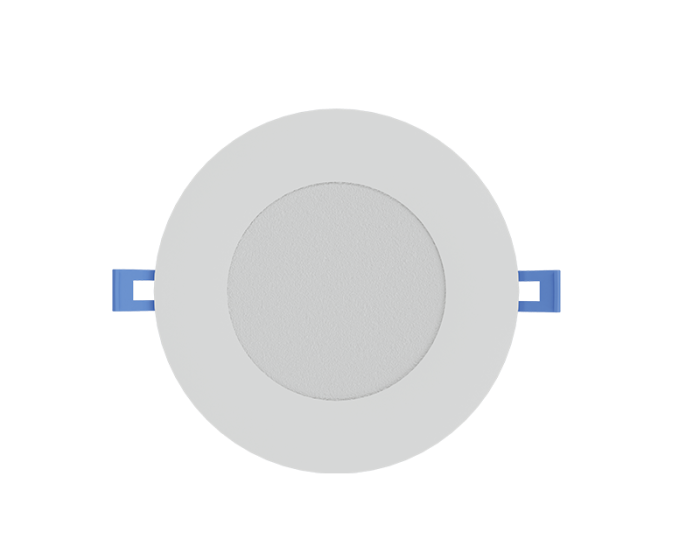
Switch off power
Switch off the correct circuit breaker and have the supply verified de-energized before work begins. A wall switch alone is not sufficient. If you cannot safely verify isolation, contact a Licensed Electrical Contractor.
Find the right fit for a new installation or replacement.
Representative product images; not to scale. Check each model's actual dimensions and required ceiling cut-out.
Switch off the correct circuit breaker and have the supply verified de-energized before work begins. A wall switch alone is not sufficient. If you cannot safely verify isolation, contact a Licensed Electrical Contractor.
Lights and drivers can become hot during use. Let both cool completely before touching or cleaning. Follow the manufacturer's care instructions.
Check the fixture's location rating, insulation requirements and driver placement. Use a Licensed Electrical Contractor for wiring work and follow applicable local requirements.
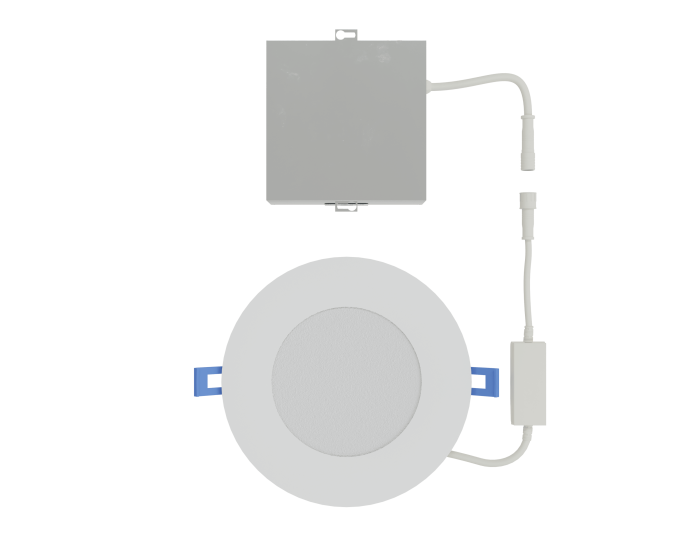
For a light supplied with a separate driver, use the new light with its supplied or manufacturer-approved driver. An old driver may not be compatible, even if the connector fits.
Output current, voltage range, connector wiring and dimming requirements can differ. Reuse an existing driver only when the manufacturer confirms compatibility with the exact replacement model.
Older LEDs can lose brightness, and some light guides or diffusers can yellow with age. A new light may look brighter or different in colour beside older fixtures.
Compare lumens, colour temperature and beam angle. Matching wattage alone is not enough. Even the same kelvin rating may not give an exact visual match across different models or ages.
A matching, working older light from a separate location may help complete the existing group. An installer can check whether it is suitable to move that light with its matching driver, then install the new light and supplied driver in the separate location. Both locations must meet the product's installation requirements; never reuse damaged components.
With power isolated and the fixture cool, use a soft, dry cloth on the exposed trim and diffuser. Avoid abrasive materials and do not spray cleaners into the light or driver.
If the light has selectable colour temperatures, choose the setting closest to your other lights, such as 3000K or 4000K. Follow the instructions and isolate power before adjustment.
Flickering may involve the dimmer, driver, connections or fixture. Check the manufacturer's dimmer guidance and arrange an assessment rather than swapping unmatched components.
Do not cover a fixture or driver with insulation unless specifically rated and permitted. Stop using equipment with scorching, damaged wiring or a burning smell and seek professional help.
Have your model number and ceiling cut-out measurement ready. We can help you compare suitable options.