
How to Choose LED Area Lights for Parking Lots & Dealerships
November 17, 2026
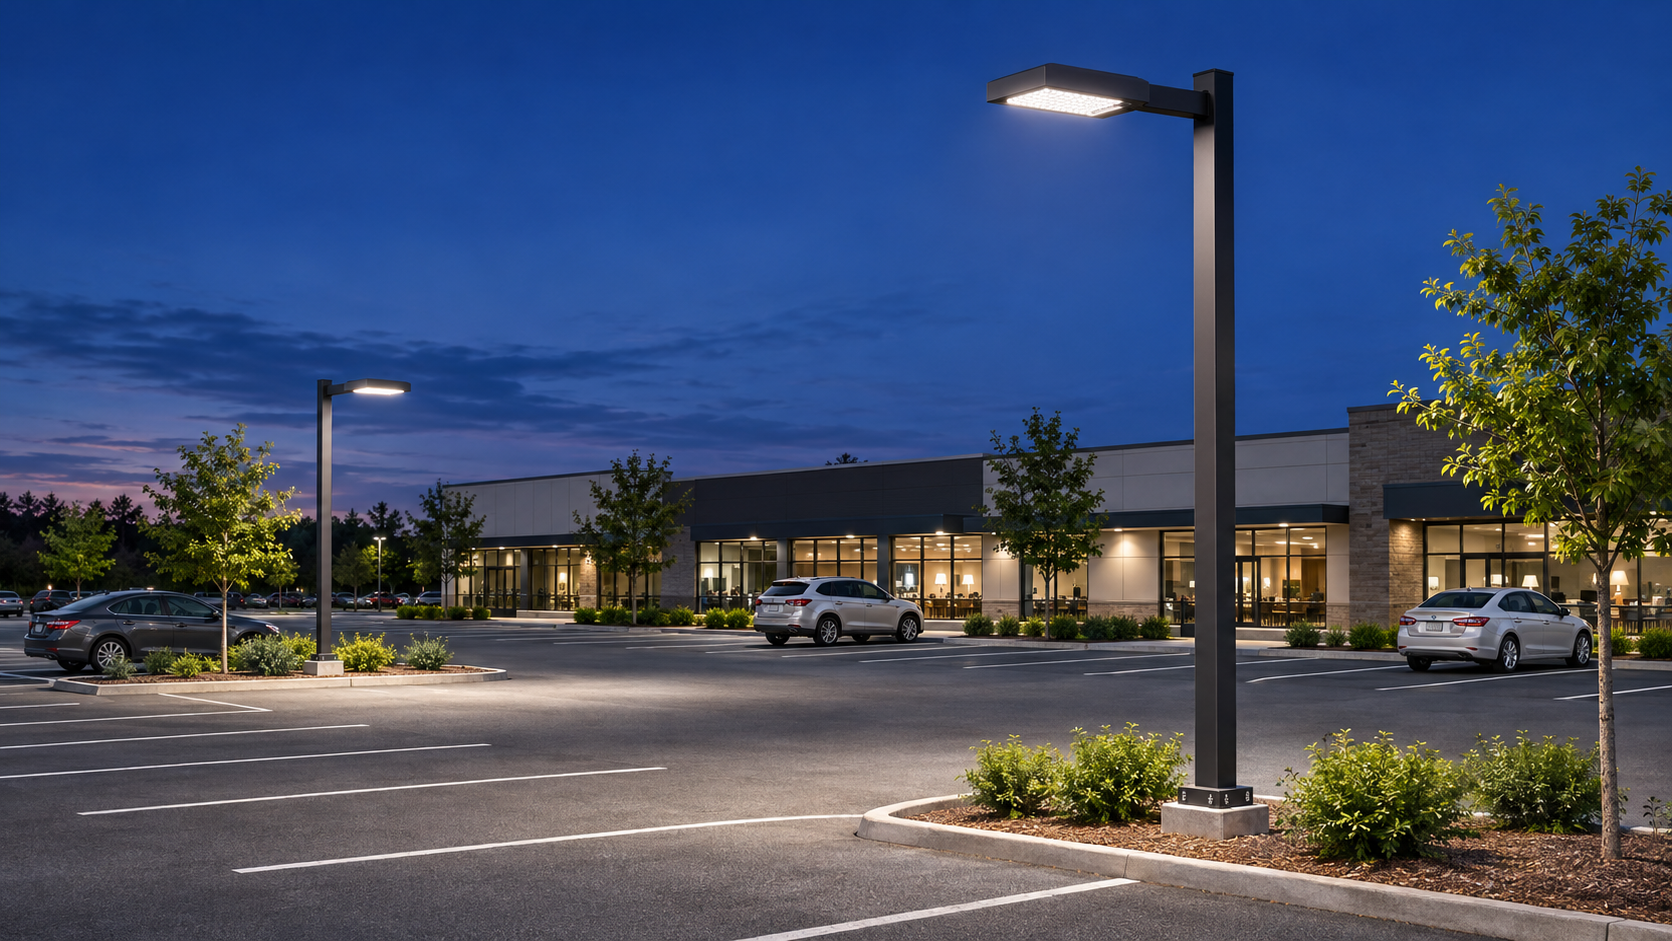
Choosing an LED area light starts with the place it needs to illuminate. An everyday parking lot, a dealership display row and a yard beside homes can need very different light levels, even when their poles are the same height.
This guide walks through the buying decisions in a practical order: the site and its existing equipment, brightness and wattage, light direction, mounting hardware and colour temperature. Start with a few measurements and photos, and it becomes much easier to choose the right light and accessories.
1. What is the lighting meant to do?
Ordinary customer or employee parking: the goal is clear, comfortable visibility. People need to see walking routes, parked and moving vehicles, entrances and obstacles. Good coverage between poles matters just as much as the bright patch directly below each light.
Car dealership displays: the front rows often need substantially higher illumination than ordinary parking. The lighting helps the vehicles stand out to passing customers and makes their shape, paint colour and finish easier to see. Light needs to reach the sides of the cars as well as the pavement. The front display, customer parking and rear storage area can each have a different brightness target.
Sites beside homes: identify nearby windows and property lines at the start. You may need a different light pattern, aiming direction or shielding on that side of the site.
Lighting plans often express the target in lux: how much light reaches a surface. A brighter dealership display and a quieter staff parking area should not automatically receive the same fixture setting just because their poles match.
2. Check the poles and power you already have
Before comparing products, record the height from the ground to the light, the distance between poles and where each pole sits in the lot. Photograph the existing light, its connection and any readable model label. Mark trees, tall vehicles, buildings and areas that currently look too dark.
Have the electrical contractor confirm the supply voltage. If the site uses 347V, a fixture rated only for 120–277V will not suit it. Select a model whose stated input range covers the actual supply. The example R53074 in this guide is rated 120–347V; check the exact model you order.
Also identify whether you have a round or square pole, a side-mounted arm, a projecting tenon, or a wall or roof support. Those details determine which mounting parts belong on the order.
3. Choose wattage and output for the height and brightness target
Taller poles generally need higher light output, and usually higher wattage within a comparable LED range. Lower poles often suit lower-output, lower-wattage lights. This is a useful starting point when the lighting task and fixture efficiency are similar: from a higher position, the light travels farther before reaching the ground.
Then adjust that starting point for the job. Two poles of the same height can need different lights. A dealership front row may call for a higher-output fixture, or several fixtures working together, while ordinary parking may need a lower setting. Wider pole spacing can also change the output and light pattern needed to fill the gaps.
Compare lumens as well as watts. Watts describe electricity use; lumens describe light output. A more efficient model can produce similar light using fewer watts. Selectable-wattage lights let you choose among several output settings without changing the entire fixture.
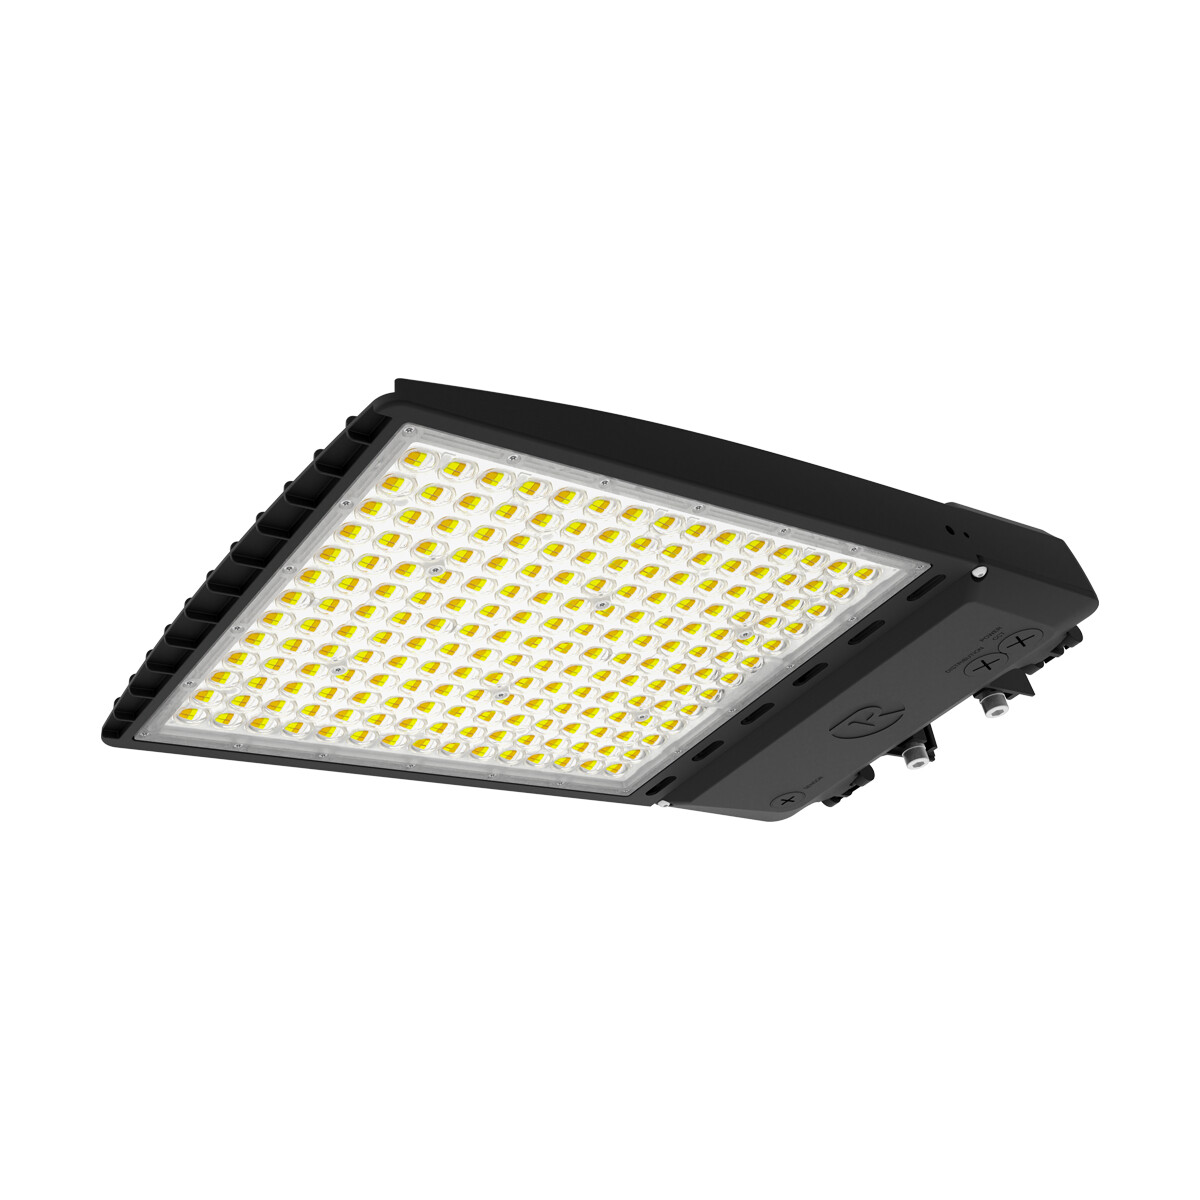
A selectable-output area light
The RENO ARIES R53074 offers 200/240/280/320W settings. Choose the setting for the pole height, spacing and brightness target, then match the mount.
A lighting layout can check the proposed wattage, pole spacing and light pattern before you order. Ask to see the expected light levels between poles and near the boundaries, as well as the average. This is especially useful for a full parking-lot upgrade or a dealership display with a specific brightness goal.
4. Match the light pattern to the pole position
The light at the edge of a parking lot often needs a different pattern and direction from a light in the middle. When people ask about the light's “angle,” they may mean either its light spread or the direction the fixture is aimed. Choose both for the layout.
- Along an edge: look at patterns such as Type III or Type IV that send useful light forward into the lot. Avoid wasting output behind the pole toward neighbouring property.
- At a corner: consider both property boundaries. The fixture's direction, a suitable corner pattern or shielding can help keep the light in the intended area.
- In the middle: a Type V pattern or an appropriate multi-fixture arrangement can provide light around the pole.
- Along a narrow lane or row: a more elongated pattern, such as Type II, may fit better than spreading light broadly in every direction.
These Type labels are a starting point. Check the actual pattern offered by the selected model. One site can use the same fixture family with different distributions or orientations at different poles.
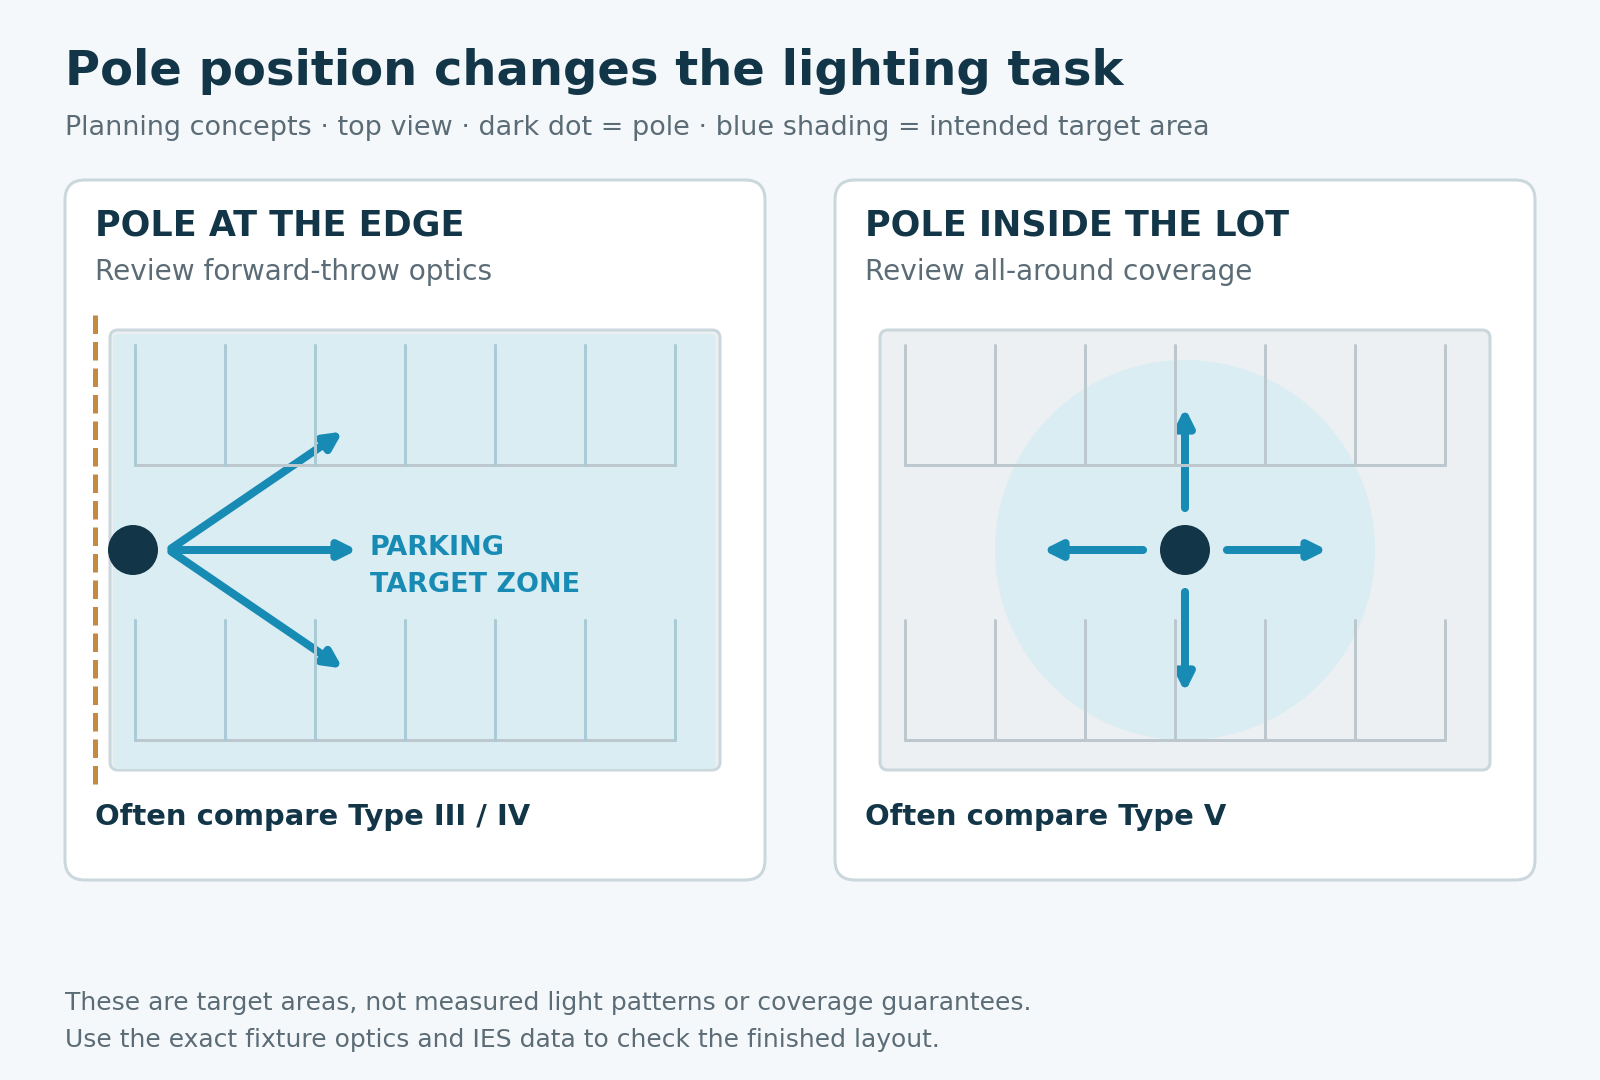
This simple plan shows where light is needed; it is not a calculated coverage map. Select the image to view it larger.
5. Choose the arm and mounting accessories
The product examples below show different mounting types. Select the accessory listed for your exact fixture model.
Straight arm: mounting to a round or square pole
A suitable straight arm can mount the light directly to either a round or square pole. It is a practical option when the fixture attaches to the side of the pole. Match the arm's base and bolt pattern, and check whether the round-pole fitting or adaptor is included. A round pole does not automatically require a slipfitter.
Slipfitter: measure the tenon before ordering
A slipfitter slides over a short tube called a tenon. Measure the tube's actual outside diameter and the straight length available for insertion. Measure the tenon itself, not just the main pole, and do not rely only on nominal pipe size.
If the tenon is too large, the slipfitter will not go over it. If it is smaller than the specified fit range, it may not secure correctly. Choose a matched pole-to-tenon adaptor or another suitable mounting method, such as a straight arm, when the connection does not fit. A 2-3/8-inch outside-diameter tenon is common in the RENO examples, but the exact slipfitter's specification decides the fit.
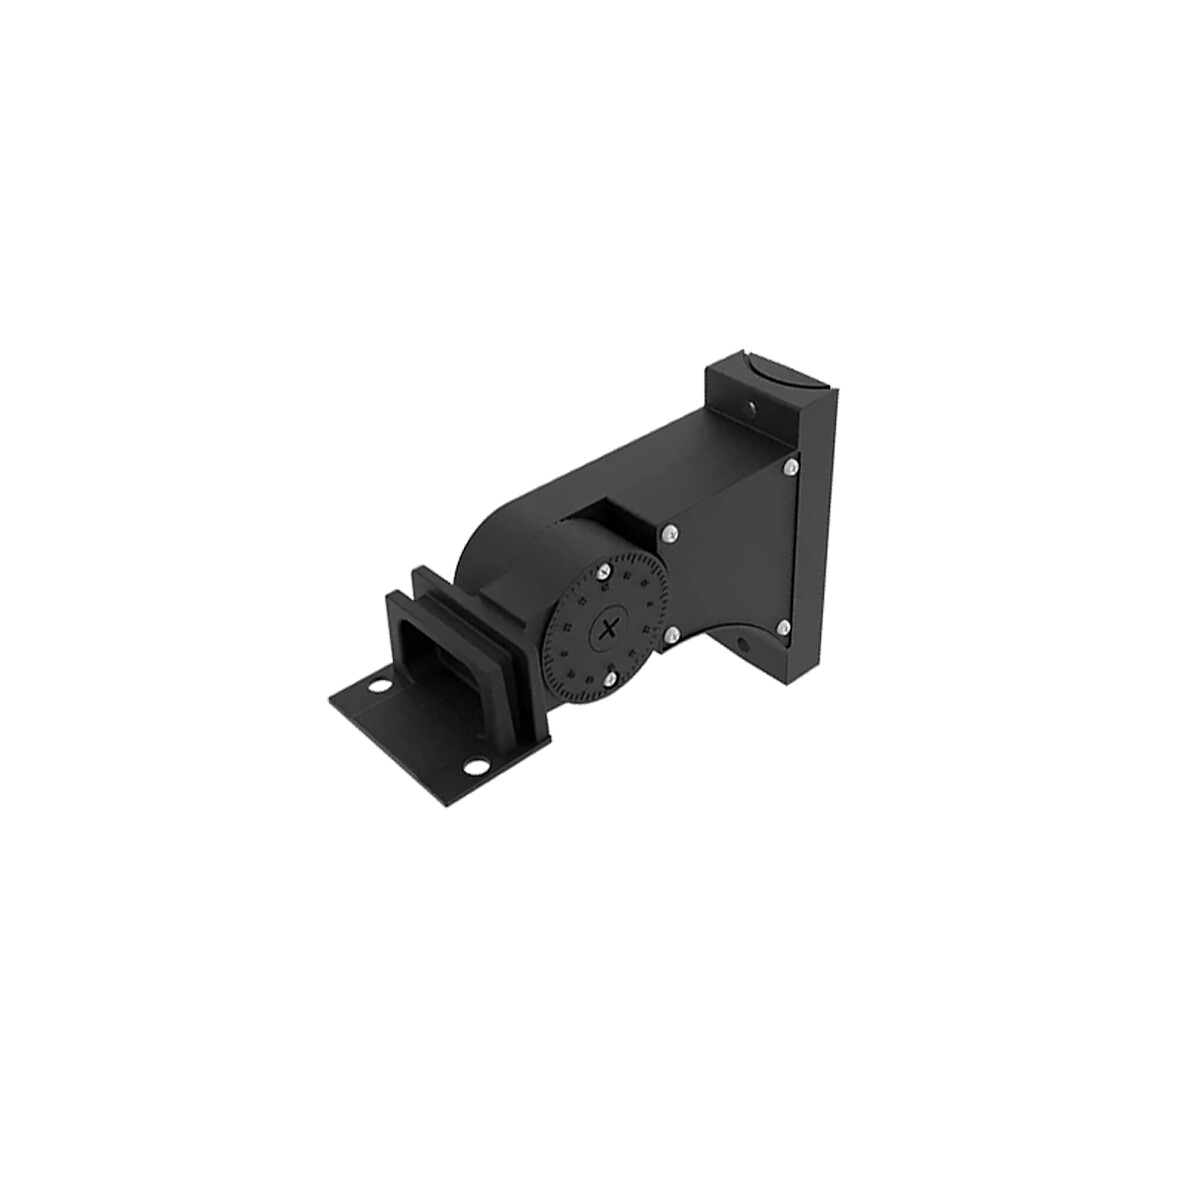
Straight arm — side of a round or square pole
A direct arm connection. Check the pole-facing base, hole pattern and fixture compatibility.
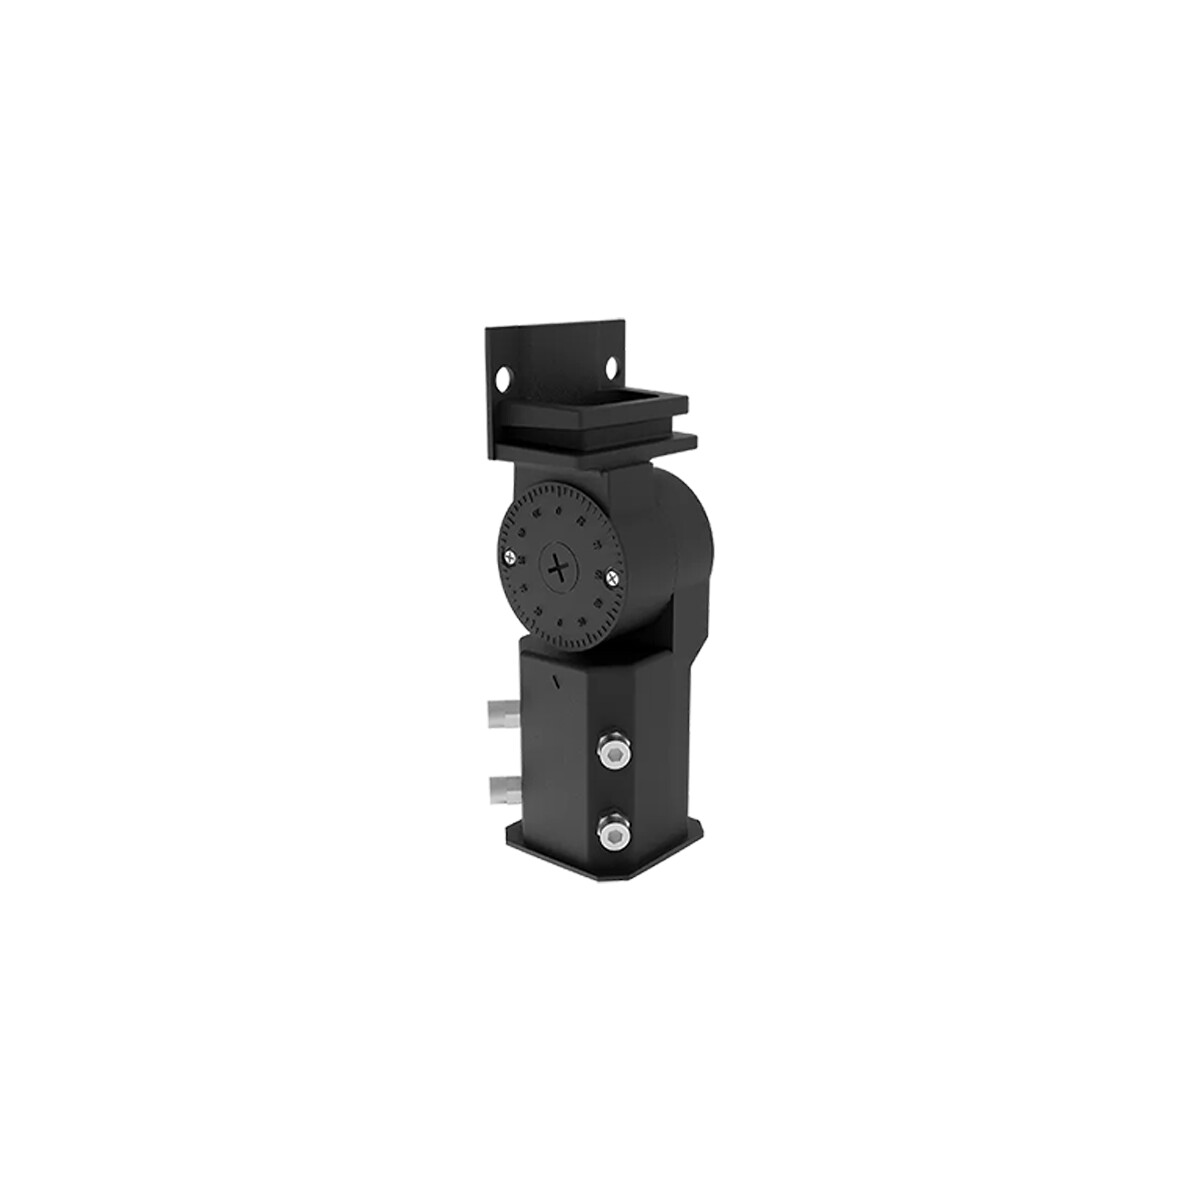
Slipfitter — over a matching tenon
The sleeve fits over a projecting tube. Measure its outside diameter and usable insertion length.
Bullhorn: add more light toward the same area
A bullhorn lets one pole carry multiple fixtures. A useful application is aiming two or more lights into the same target area when one fixture does not provide enough illumination—for example, a dealership's front display row or a demanding parking zone.
Choose the number of heads and their light patterns together. “Inline” and “at 90 degrees” describe the bracket's mounting positions; they do not by themselves dictate where every light must point. Confirm the fixture mounts can achieve the intended directions and that the pole and bracket can carry the complete assembly's weight and wind load.
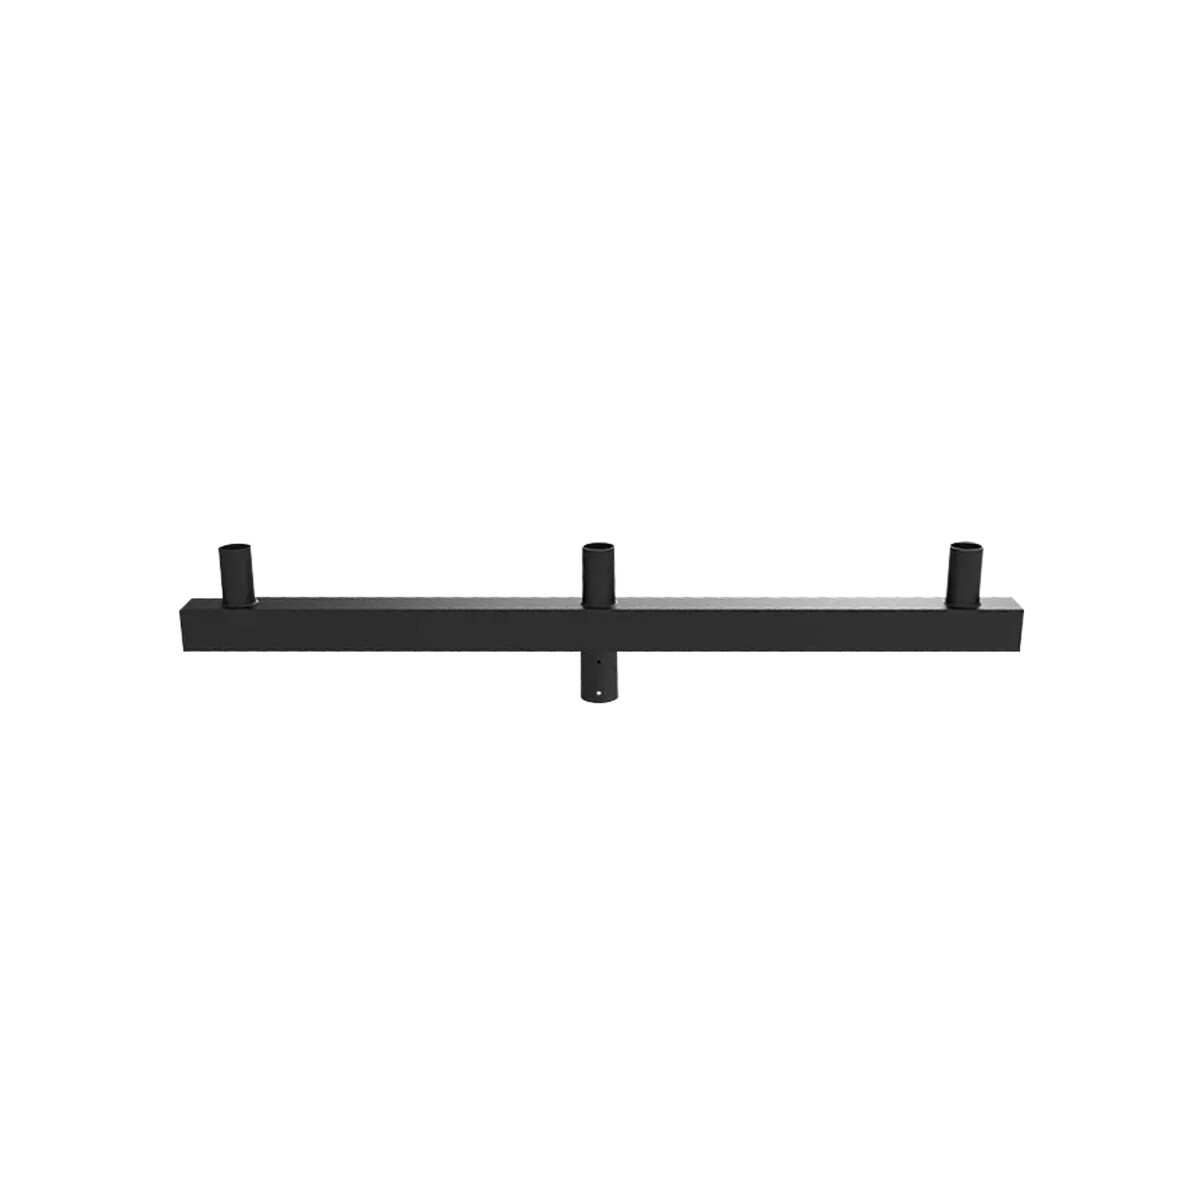
Inline bullhorn — more fixtures on one pole
Three mounting positions for compatible fixtures. Multiple lights can be aimed into the same target area to increase illumination.
Wall and roof mounting: choose the connection and the support
A wall tenon bracket provides a tube for a compatible slipfitter. A trunnion/U-bracket or yoke connects the fixture to a mounting surface or support and can provide angle adjustment. These are different parts: buy the bracket listed for your exact fixture.
For a roof or parapet installation, the U-bracket is only one part of the assembly. The job also needs a suitable structural base and anchorage, with any roof penetrations properly weatherproofed. Confirm the fixture's permitted orientation and the support arrangement with the installer before ordering.
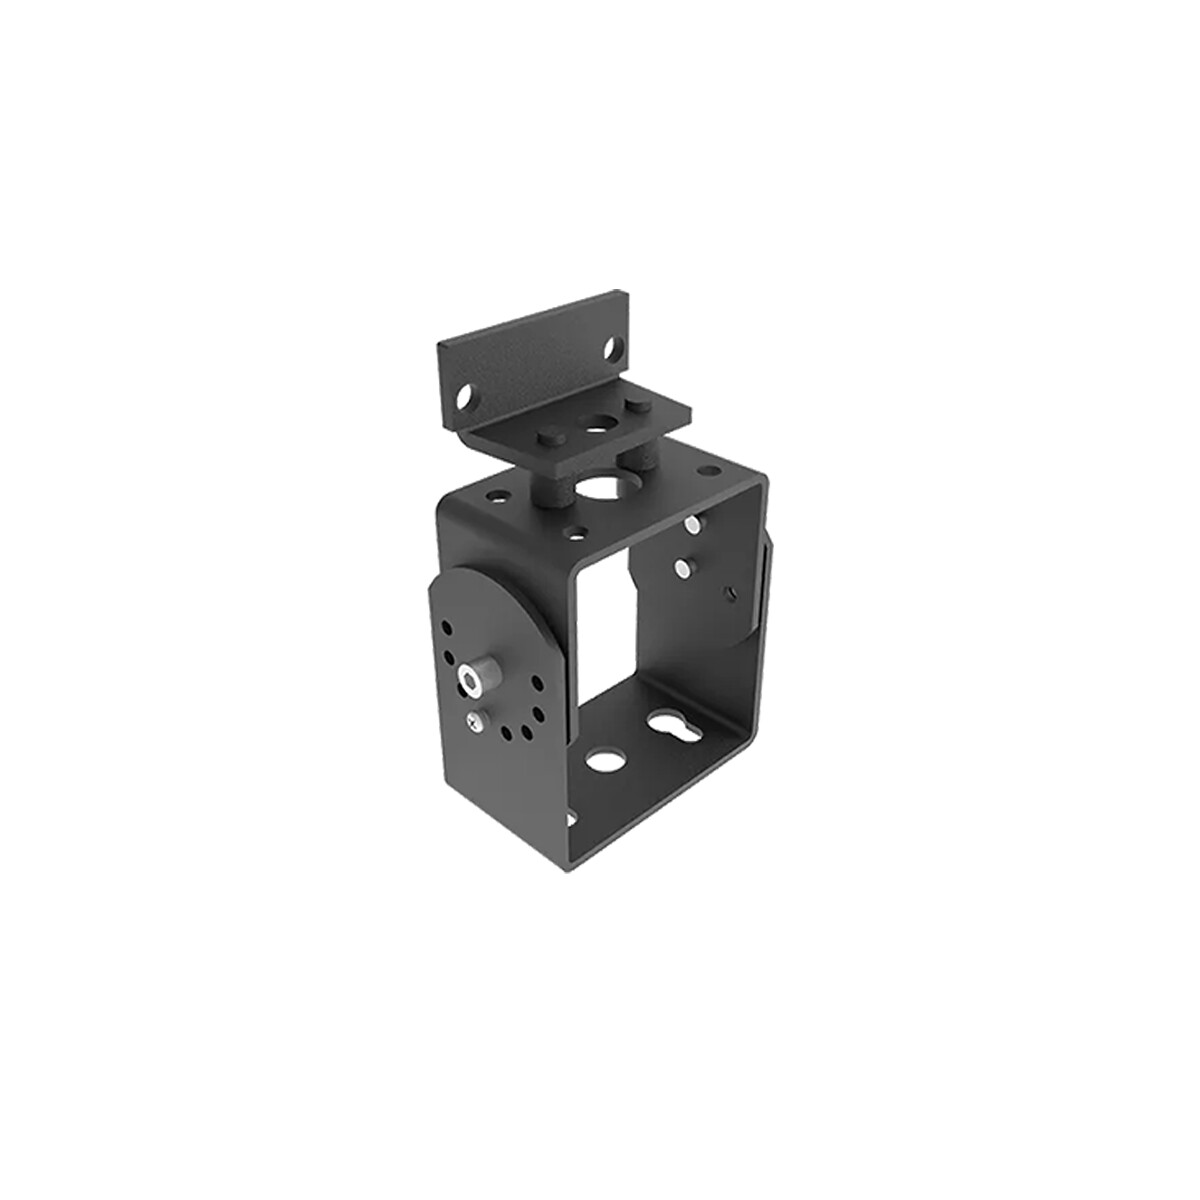
Trunnion / U-bracket
A compact bracket at the fixture connection. Match the exact light and permitted mounting orientation.
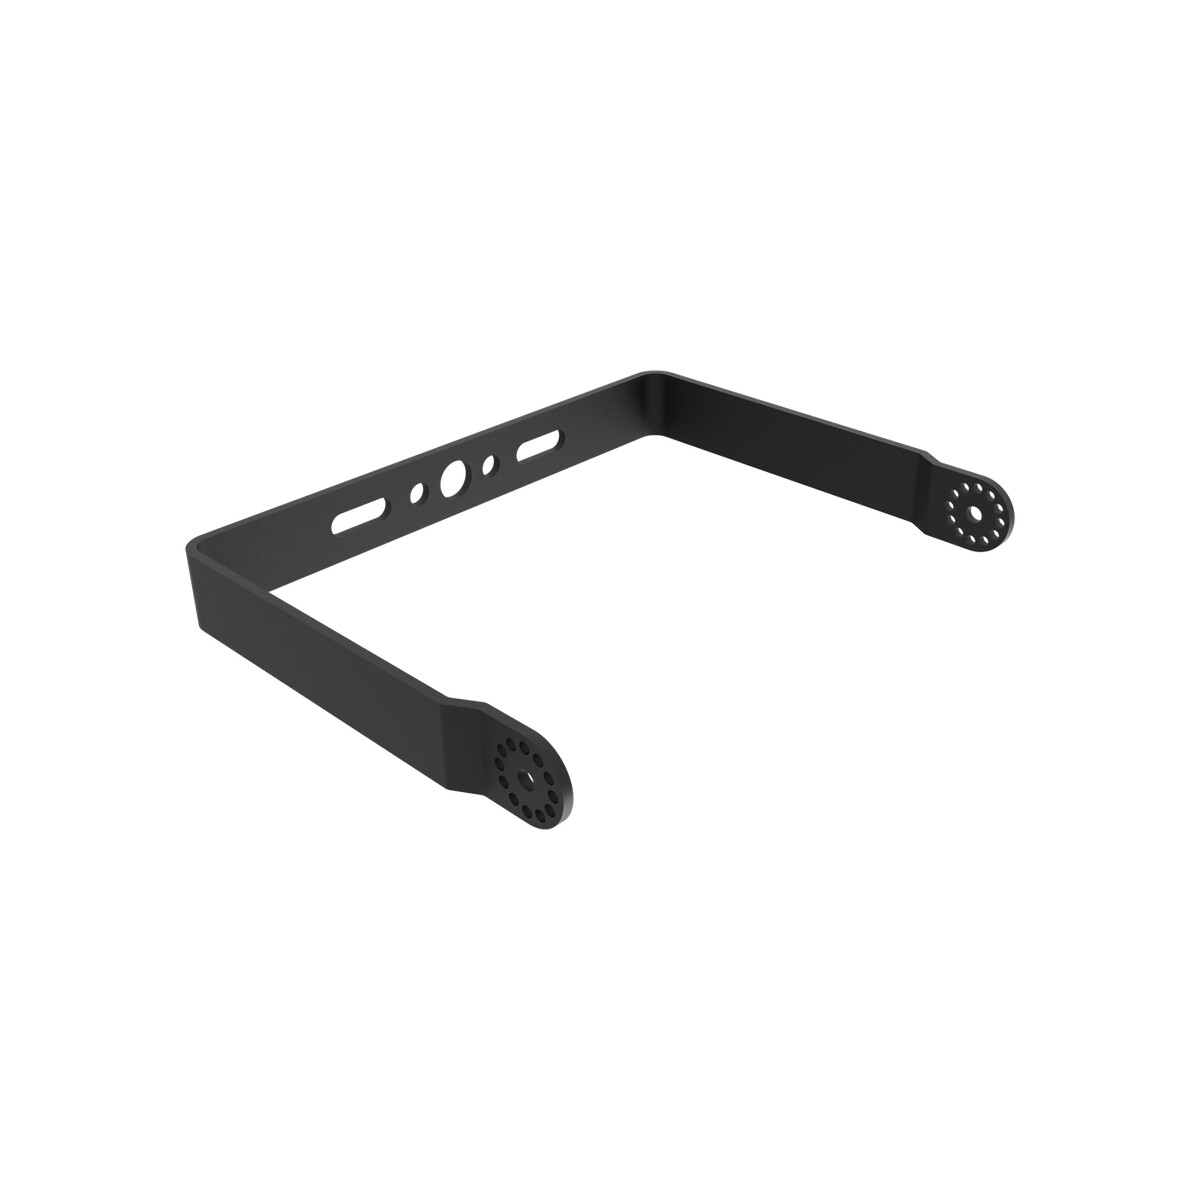
Yoke mount
A different bracket arrangement, listed for R53071/R53074. Select by fixture model and support detail.
6. Check aiming and shielding near roads and homes
Does the light need an upward tilt?
Not necessarily. Many parking-lot area lights are designed to work level, with the light directed downward. Their optics send light toward the target without needing to tip the whole fixture upward. An adjustable slipfitter or trunnion can change the angle where the model and layout allow it.
Use the permitted aiming range for the selected light. Raising the front simply to reach farther can expose drivers or nearby windows to glare. Choose a suitable pattern first, then confirm the mounting angle in the lighting layout.
When is a house-side or backlight shield useful?
If a light is close to homes, bedroom windows or a property boundary, a matching shield can help reduce light escaping toward those areas. This is often an important accessory for perimeter poles. It works together with the fixture's light pattern and direction; it does not replace those choices.
Shields are model-specific. Check which sides they screen and whether they reduce light where you still need it. For example, the RENO R59215 shield is listed for the R53074 area light.
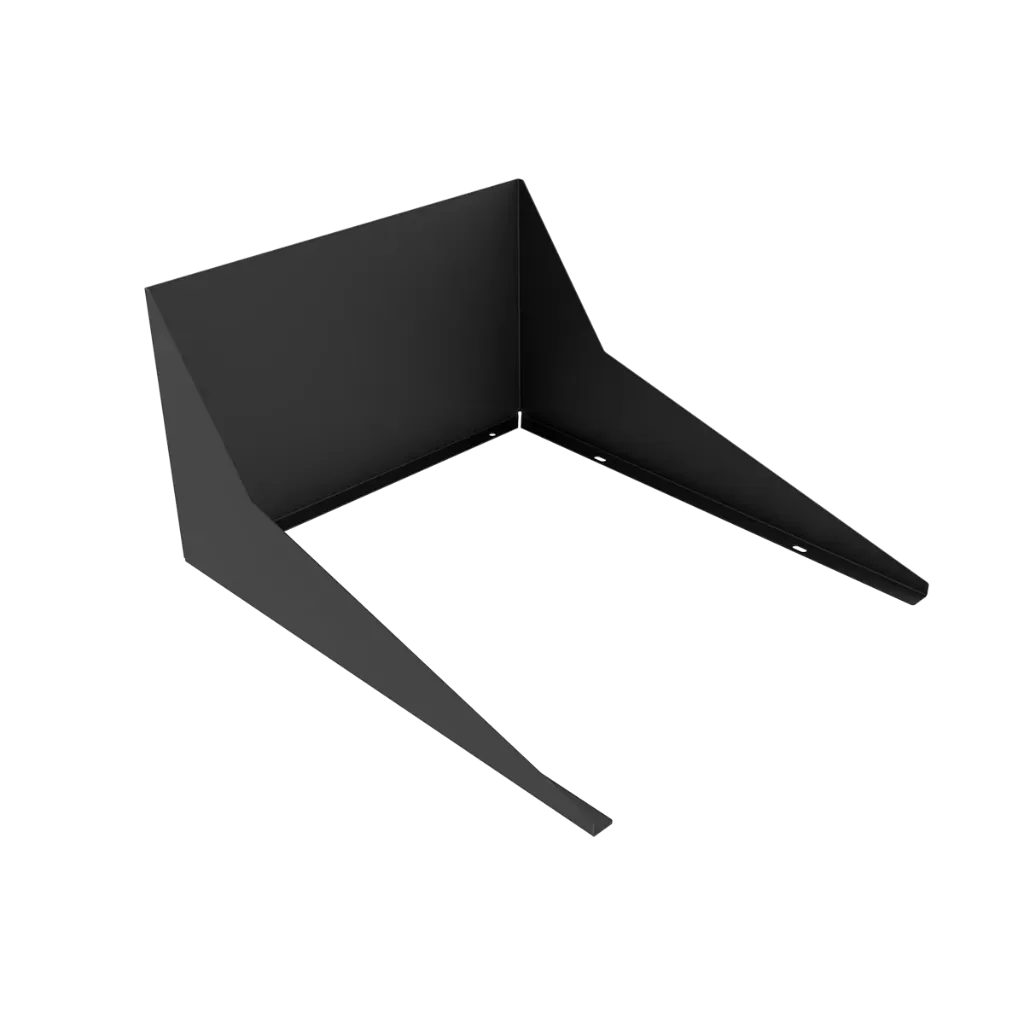
Shield for the R53074 area light
A model-specific accessory to help limit unwanted light in shielded directions. Select it alongside the optic and mounting orientation.
7. Choose the colour temperature
- 3000K: a warmer appearance to consider near homes or where the building uses warm exterior lighting.
- 4000K: a more neutral appearance to compare for general commercial parking and building exteriors.
- 5000K: a cooler appearance that some sites prefer for vehicle displays or a crisp white look.
Match nearby lighting where practical. For a dealership, also check how the proposed light shows paint colours and finishes; colour rendering, or CRI, matters alongside colour temperature. A higher Kelvin number does not by itself mean more light on the cars or pavement.
Before ordering: send us these details
A few clear photos and measurements can prevent the wrong light or mounting part arriving on site:
- The job: ordinary parking, dealership display, yard, entrance or another use—and which areas need to look brighter.
- The layout: pole heights, spacing and positions, with a sketch or site plan.
- The connection: round/square pole, arm bolt pattern, or tenon outside diameter and usable length.
- The power: confirmed supply voltage and existing fixture model, if readable.
- The surroundings: nearby homes, windows, roads and any shielding needs.
- The order: fixture quantity, preferred colour temperature, required mounts, adaptors and shields.
Also confirm wet-location suitability and the operating-temperature range for the site. Note whether a photocell or other control is required and whether it is included; sensor selection deserves its own discussion.
Contact Mr. Lighting with those details, or browse area-light arms and mounting accessories. We can help narrow the options and identify the fixture and accessory details to confirm before ordering.